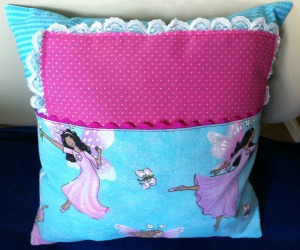
My daughter-in-law and I have an on-line store on Etsy called She and Me Designs where we sell hand-crafted aprons, quilts and other sewn items. One of the most popular items is a Tooth Fairy Pillow – you know, a little pillow used to hide a precious baby tooth until the Tooth Fairy can come and retrieve it and leave a little somethin’-somethin’ in its place!
I made a few today and decided that it would make a nice tutorial so took pics along the way.
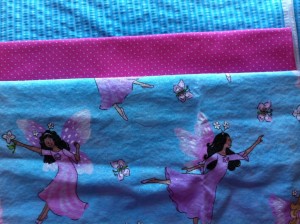
First, I selected three fabrics that have some contrast; the pillow base fabric (front and back), a contrast, and the pocket fabric, which has the actual detail that you want to show off. For this fabric I selected an aqua stripe for the base, a bright pink dot for the contrast, and some fairy-princess fabric for the pocket.
Base fabric (aqua stripes) Cut two (2) 10-1/2″ squares
Contrast fabric (pink dots) Cut one (1) 7-1/2″ square
Pocket (princess fairies) Cut one (1) 10-1/2″ square
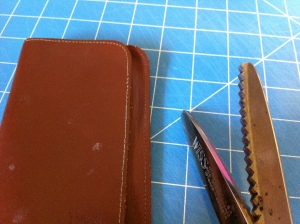
Next, I ‘pinked’ around the contrast fabric to give it a little interest. I used my mom’s old pair of pinking shears, which I dearly love! They bring back lots of memories!
 I then pinned a dainty white lace around the top half of the contrast fabric, starting in the middle of one side and around to the middle of the other. I placed the fabric and lace face up on to the base fabric (not centered as you can see) and sewed around all four edges of the contrast fabric.
The reason I didn’t put lace all around the contrast fabric was because the pocket will cover up the top two-thirds of the contrast fabric. I didn’t want the lace ‘bunching up’ under the pocket.
Next, it’s time to prep the pocket.
Iron the 10-1/2″ pocket fabric in half, forming a rectangle 10-1/2″ wide by 5-1/4″ tall.
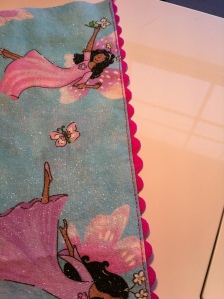
I like to add embellishments wherever I can, so I added some hot-pink ricrac to the top of the pocket. In the pictures below I show the ricrac pinned in place, and then stitched close to the edge to hold it in place.
Now we start putting the pocket together, layering the fabrics as follows:
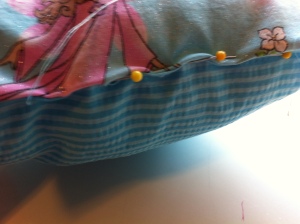
– Place the base fabric with the contrast sewed to it face up; place the pocket across the bottom. Gently place the second base fabric (wrong side down) over the assembled fabrics. Pin around all four sides and prepare to sew.
– Start at the bottom of the pillow, about two (2) inches from the corner,; backstitch to secure the seam. Using a 1/4″ seam allowance, stitch around the pillow until you get back to the bottom of the pillow. STOP about four (4) inches from where you started, leaving enough room to turn the pillow inside out. Back stitch to secure your seams.
– Trim all four corners to reduce the bulk in the corners, and gently turn the pillow inside out. From the inside, use a skewer or crochet hook to push to push the corners out – be sure to not break through the fabric or seam though!
– After the pillow is turned, carefully iron the seams. I love this part! 
– Now, using some Poly-fil Fiber (available at all sewing / craft stores), stuff the pillow as loosely or tightly as you like. Be sure to stuff it into the corners too! Then, stitch up the pillow at the bottom. You can either carefully machine-stitch it closed with a narrow hem, or hand-stitch, which I did.
YEA!!! The pillow is now finished and ready for that Tooth Fairy!
I hope the instructions were helpful! Please leave your comments, and let me know if you make a Tooth Fairy Pillow for your own little Prince or Princess!!!
